Loading... Please wait...
Categories
Categories
Brands
Brands
- Home
- CATV Broadband Equipments and Accessories
- Extended Battery Pack for VeEX CX310 Handheld DOCSIS 3.1 Installation Test Set B02-06-008G DP-B02-06-008G
Extended Battery Pack for VeEX CX310 Handheld DOCSIS 3.1 Installation Test Set B02-06-008G DP-B02-06-008G


Extended Battery Pack for VeEX CX310 Handheld DOCSIS 3.1 Installation Test Set B02-06-008G DP-B02-06-008G

Product Description
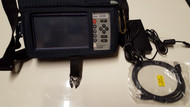
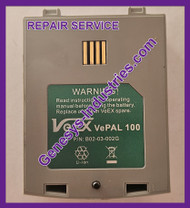
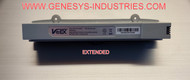
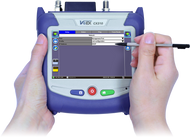
This replacement Extended Battery Pack is designed for use with the CX310 Test Set as a substitute to the OEM version. DP-B02-06-008G
The CX310 Extended battery pack replacement is used to restore or extend operating time for VeEX CX310 test sets when the original battery no longer holds sufficient charge.
When should a CX310 battery pack be replaced?
A battery pack should be replaced when run time is significantly reduced, charging performance declines, or the battery no longer supports a full workday of testing.
How this Extended Battery Pack supports field testing
The CX310 Extended Battery Pack Replacement ensures continued mobility and productivity for CX310 test sets in the field. By restoring dependable battery life, it helps technicians complete installations, troubleshooting, and maintenance without unexpected downtime.
At a Glance
-
Replacement Extended battery pack for VeEX CX310 test sets
-
Restores portable operation and field run time
-
Designed for easy replacement
-
Supports uninterrupted testing during long workdays
-
Ideal for maintenance and spare inventory
Substitute for the below part numbers:
- B02-06-008G
Compatible with.
- CX310
Key features.
- Field replaceable battery pack.
- This Extended battery pack is microprocessor controlled.
- Includes additional battery management safety protection compared to OEM's version.
- Correction to intermittent OEM's battery pack connector.
- Battery packs' rating, battery type, serial number and manufactured date displayed.
- Two year warranty compared to OEM's standard one year warranty. (Restrictions apply, please view warranty details)
Specification.
- Brand: Devcon Power
- Country of origin: United States
- Dangerous goods: Yes, Hazmat
- Battery type: Lithium-Ion, 6-cell Li-Ion. 3NCR19/65-2
- Nominal rating: 10.8V 7.0 A/Hr 75.60 W/Hr
- Typical battery life: >8 Hours typical continues use.
- Low charge status: Battery charge is critically low, <10%, ~18 minutes.
- Battery charge time: Typical 3 to 4 hours.
- Operating Temperature: -10 to 45 °C (14 to 113 °F)
- Charging Temperature: 0 to 45 °C (32 to 113 °F) ≤ 85% RH
- Storage Temperature: -20 to 70 °C (-4 to 158 °F)
- Dimensions: 0.75 x 2.75 x 4.37 (L x W x H)
- Weight: 0.8 LBS
What's included.
- 1. CX310 Test set Battery Pack
- 1. Installation instructions
Why purchase.
- This battery pack is a cost-effective alternative compared to the OEM version.
- This battery pack meets and exceed the original specifications.
- Correction to intermittent OEM's battery pack connector.
- Devcon Power has been supplying the Test and Measurement Industry with a large variety of current and obsolete battery packs and chargers for over 20 years.
- Two year warranty compared to OEM's standard one year warranty. (Restrictions apply, please view warranty details)
- Lifetime product support.
- Discounts available for volume purchasing.
Manufacture's installation instructions:
How to replace B02-06-008G battery pack for a CX310
Remove the battery cover and battery pack
- The battery pack is installed on the back of the unit and is hidden by the battery cover on the back of the test set
- A new B02-06-008G Battery Pack comes with a Velcro strip on the back to affix the battery to the unit inside the battery compartment.
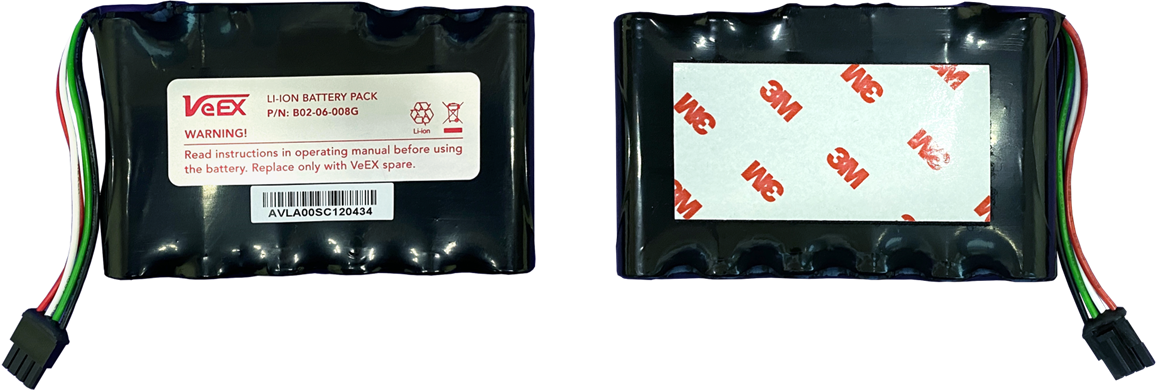
 It is highly recommended that you do the battery replacement one unit at a time
- Do not connect AC adapter to the unit.
- Power off the unit.
- Put the unit with LCD facing down on a flat surface. Keep the LCD clear from any objects on the flat surface to avoid damaging the LCD.
- Locate and use a Philips screwdriver to undo the two battery cover screws at the bottom of the unit. Lift to remove the battery cover in the direction as indicated by the OPEN marking on the cover.
- Safe keep the two screws. It is recommended to tape the two screws to the removed battery cover so that they will not be misplaced.

- After removing the battery cover, remove the battery by slightly waggling the battery pack off from the Velcro attachment.
- Check if there is a serial number sticker affixed on the back chassis case. Checked that the serial number matches the one on the removed battery cover.
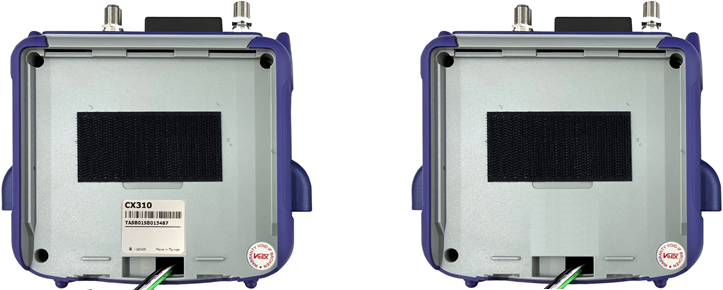
- Some units may not have the serial number sticker affixed. If a serial number sticker is not there. Power on the unit, go to the Utilities > Settings > About screen to check the displayed serial number matches the one on the removed battery cover.
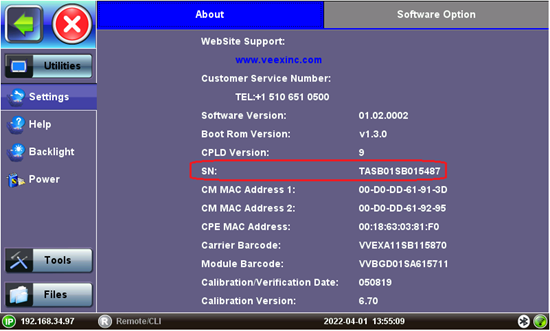
 If the serial numbers do not match, locate the correct battery cover for the unit.
-
If there is no serial number sticker it is recommended to put a sticker with serial number written to identify the unit, especially if there are more than one units with battery covered removed.
Disconnect the old and install new battery
- Carefully disconnect the battery.
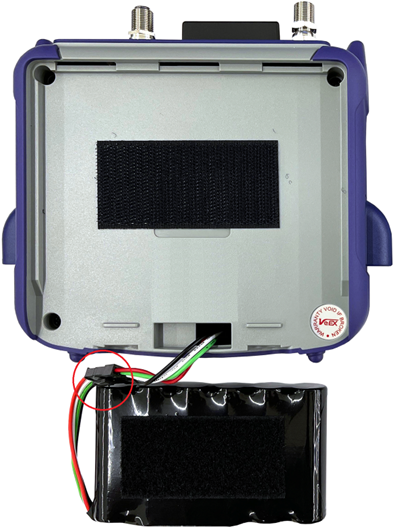
- Check the condition of the Velcro strip affixed to the chassis. If the Velcro strip is not well adhering to the chassis, remove it and clean the surface. Remove the hock side of the Velcro strip from the new battery.
 Pay attention not to damage the battery pack protective wrapping when removing the Velcro.
- Connect the new battery to the test set by aligning the connector pins and make the connection.
- Align the battery so that it leaves about the same space to the left and to the right. Press the battery to attach it to the back chassis case using the Velcro strip.
- Power on the unit to check that the battery supplies current to the unit.
Reinstall battery cover and charge the new battery
- Install the battery cover
- Route the battery wires so that they are clear from the edge of the chassis.
- When installing the battery cover to the unit check the serial number on the battery cover is the correct one for the unit.
- Align the battery cover to the chassis case then secure the cover by the two screws.
- Charge the new battery
- A new battery is normally shipped with less than 50% charge.
- Connect AC adapter to the unit to fully charge the battery before use.
Battery disposal
 Dispose of the removed Li-Ion battery pack properly in accordance with the local regulation requirements
Common Questions About the CX310 Battery Pack Replacement
What is the CX310 battery pack replacement used for?
The CX310 battery pack replacement is used to restore or extend operating time for VeEX CX310 test sets when the original battery no longer holds sufficient charge.
When should a CX310 battery pack be replaced?
A battery pack should be replaced when run time is significantly reduced, charging performance declines, or the battery no longer supports a full workday of testing.
How This Battery Pack Supports Field Testing
The CX310 Battery Pack Replacement ensures continued mobility and productivity for CX310 test sets in the field. By restoring dependable battery life, it helps technicians complete installations, troubleshooting, and maintenance without unexpected downtime.
At a Glance
-
Replacement battery pack for VeEX CX310 test sets
-
Restores portable operation and field run time
-
Designed for easy replacement
-
Supports uninterrupted testing during long workdays
-
Ideal for maintenance and spare inventory